Welcome! Today, we'll quickly show you how to Create a Service in the Oasis Travel Platform.
To create a seamless and informative itinerary, it's essential to understand the difference between Services and Content and know when to use each.
Service: Are activities or provisions on the itinerary, such as transportation, transfers, and tours, which can be group or private. They are located in the Day field, can be added chronologically, and updated with start/end times. Services can include images and be marked as optional.
Content: Describes destinations (country, city, region) used in Trip Introductions or daily descriptions. It includes images, and types such as city, country, and free day. Content can describe free days and includes inclusions/exclusions details. Click to Learn how to Add Content.
Use Services to outline specific activities and logistics for each day of the trip, ensuring a structured and detailed plan. Use Content to provide rich descriptions and contextual information about the destinations, enhancing the overall narrative of the itinerary.
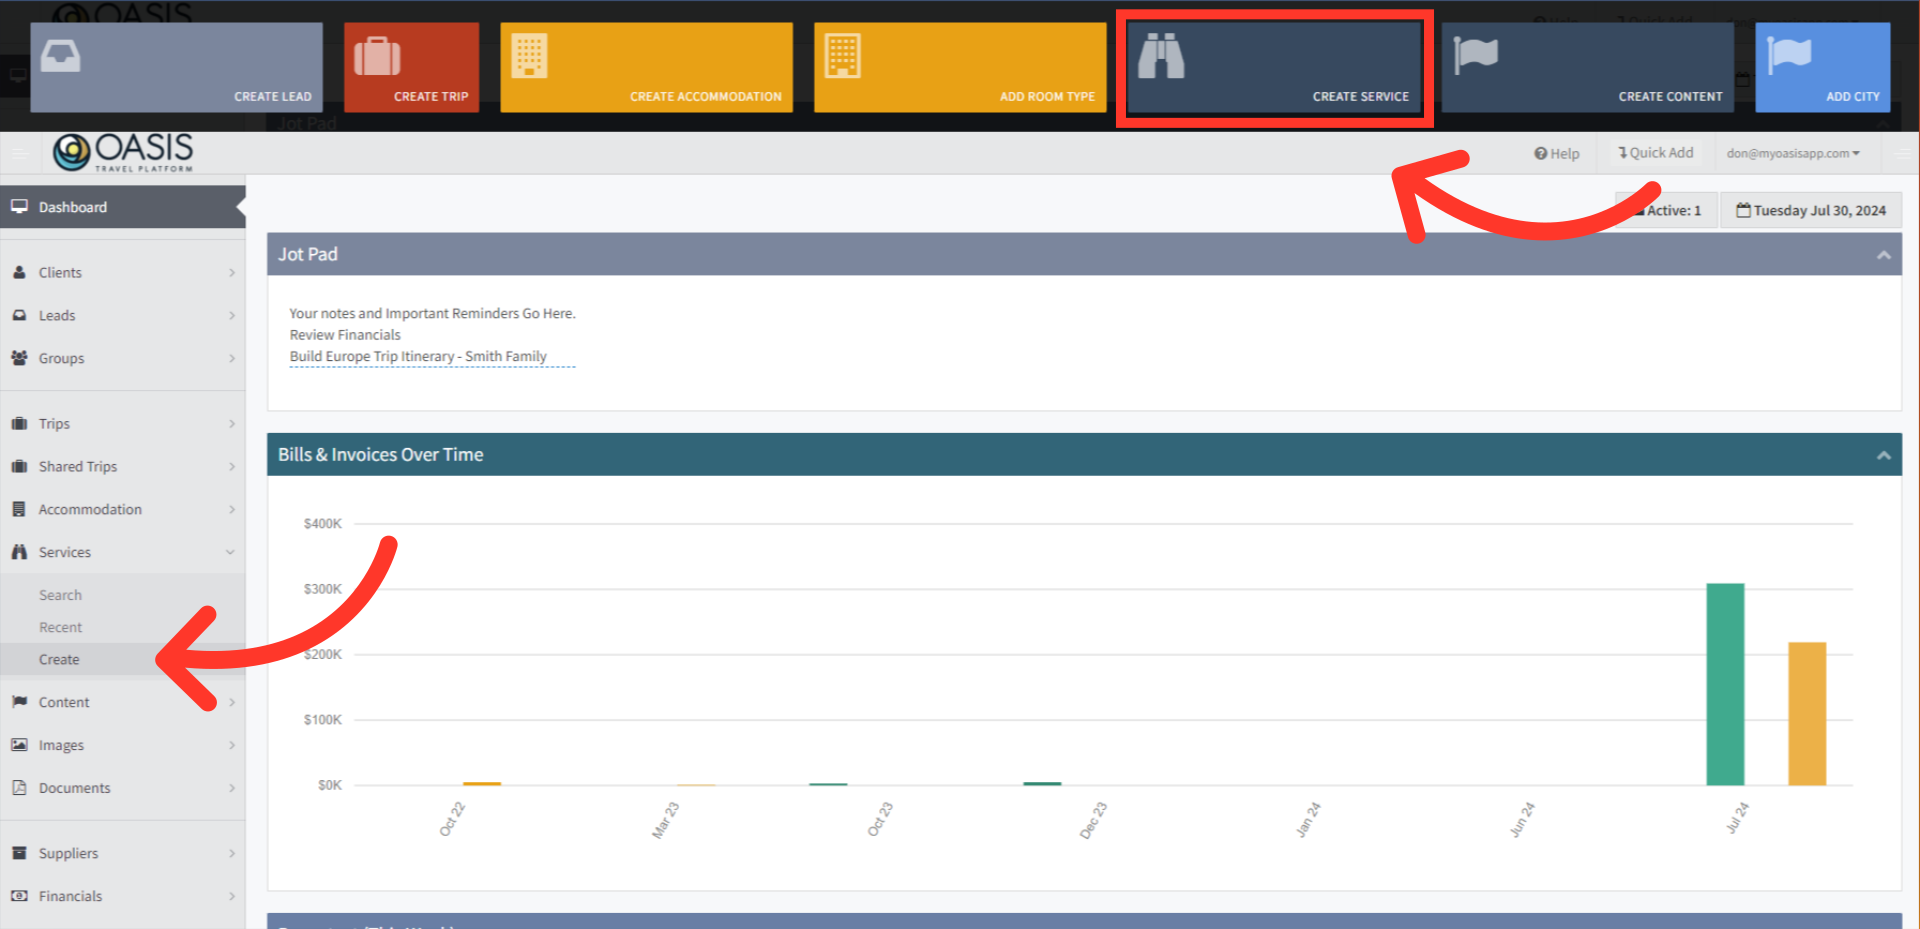
1. To begin, click Services on the left hand column, then click Create. Alternatively, clicking on the Quick Add menu at the top provides the same option.
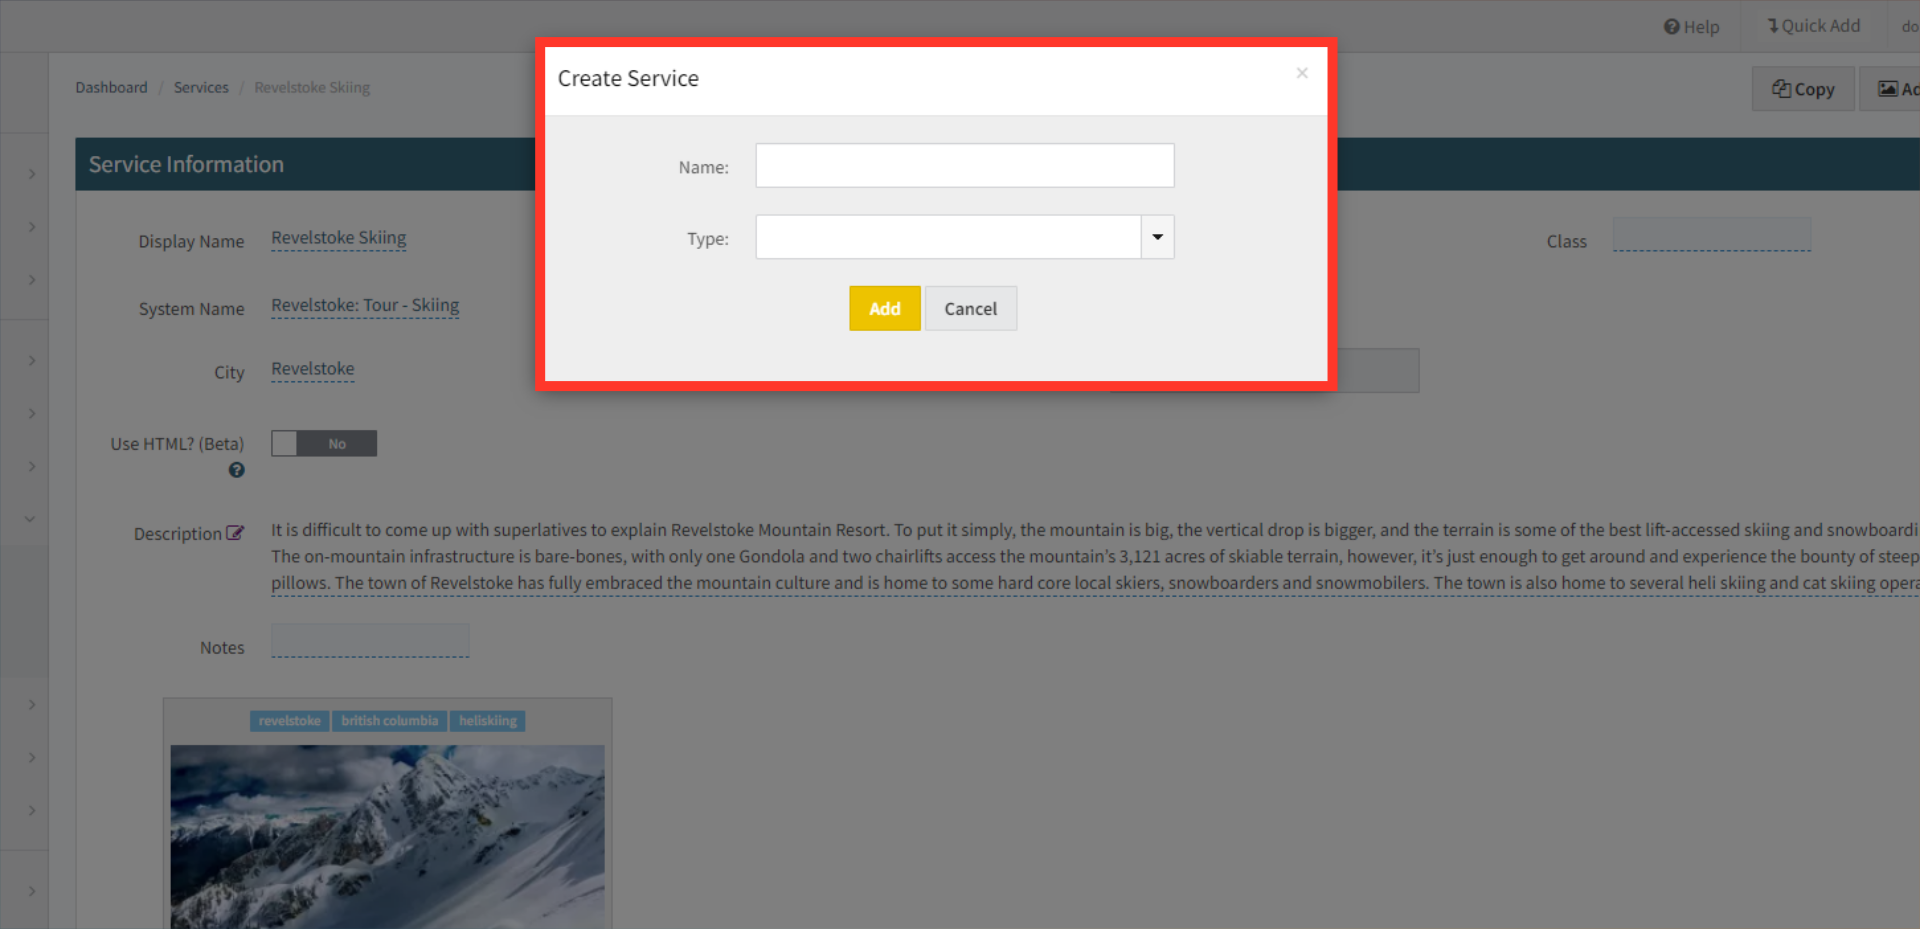
2. In the popup, enter the name of the service and then choose a service type, common options such as transportation, tour, domestic, or international flights. Additional options can be added or used.
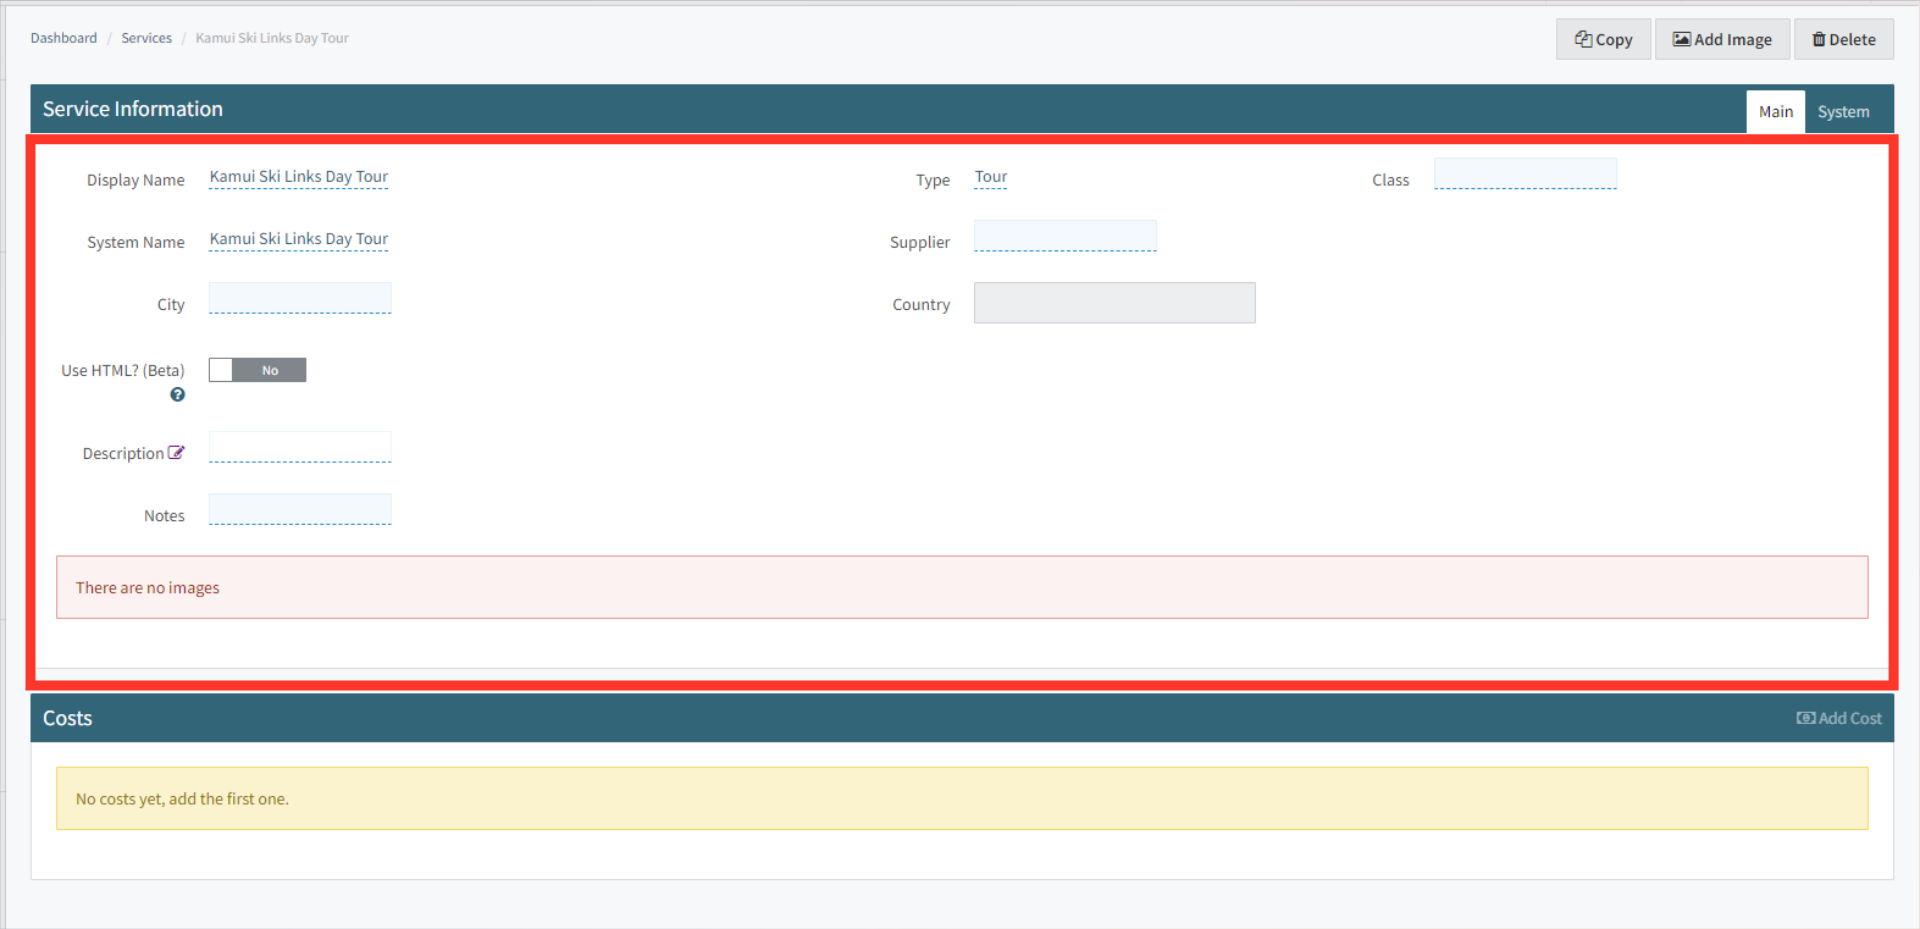
3. After submitting the form, you will be redirected to the new service page. Fill in any relevant information about the service.
Fields Explained
Display Name: The name that will appear on the trip itineraries.
Type: The type of service (e.g., Train, transportation, tour, domestic flights, international flights). If you need to add a new Service Type, please refer to the System Admin guide: How to Edit Service Type.
Class: Specify if the service is private or group. To add a new Service Class, refer to the System Admin guide: How to Edit a Basic List.
System Name: This is the backend database name used to add the tour/service to a trip. We recommend the following format: CITY: SERVICE NAME. For multi-day tours, use CITY: SERVICE NAME Day 1 of XXX.
Supplier: Link the supplier associated with the tour/service.
City: The name of the city where the tour/service is located.
Description: A detailed description of the tour/service that will be included in the itinerary.
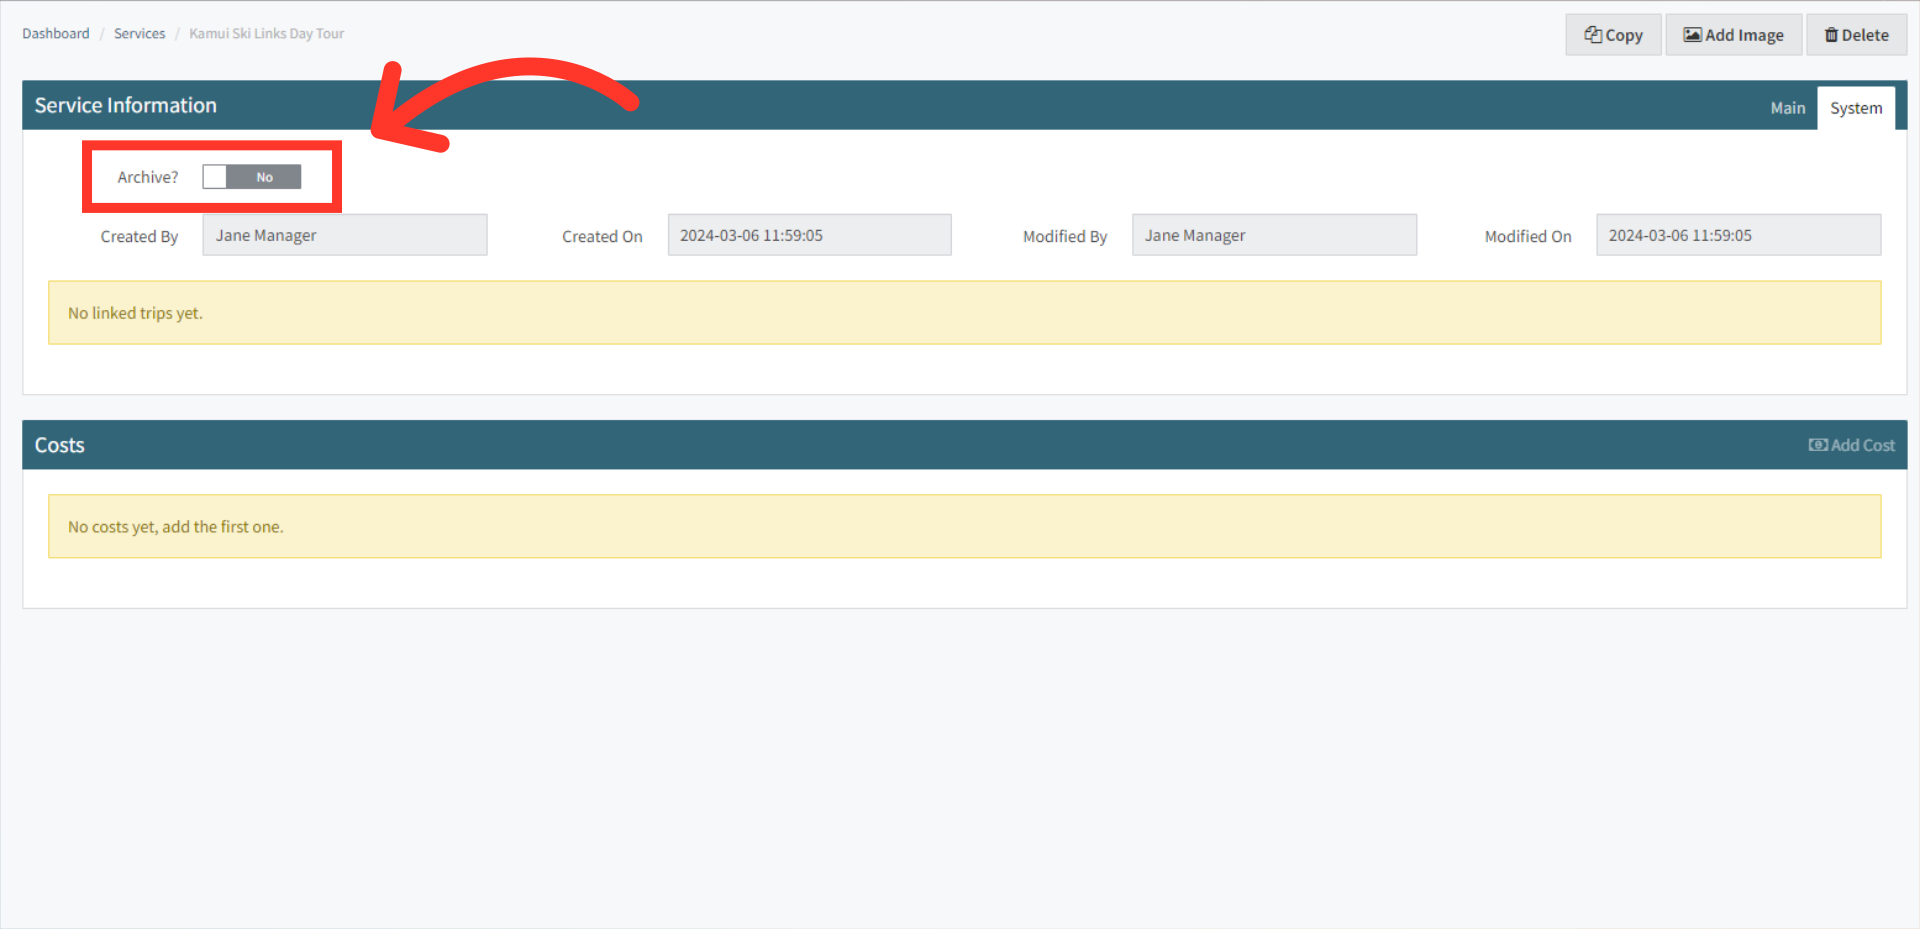
Notes: Internal notes only viewable on the backend system, not visible on itineraries. These can be useful for pricing, availability, seasonality, etc.
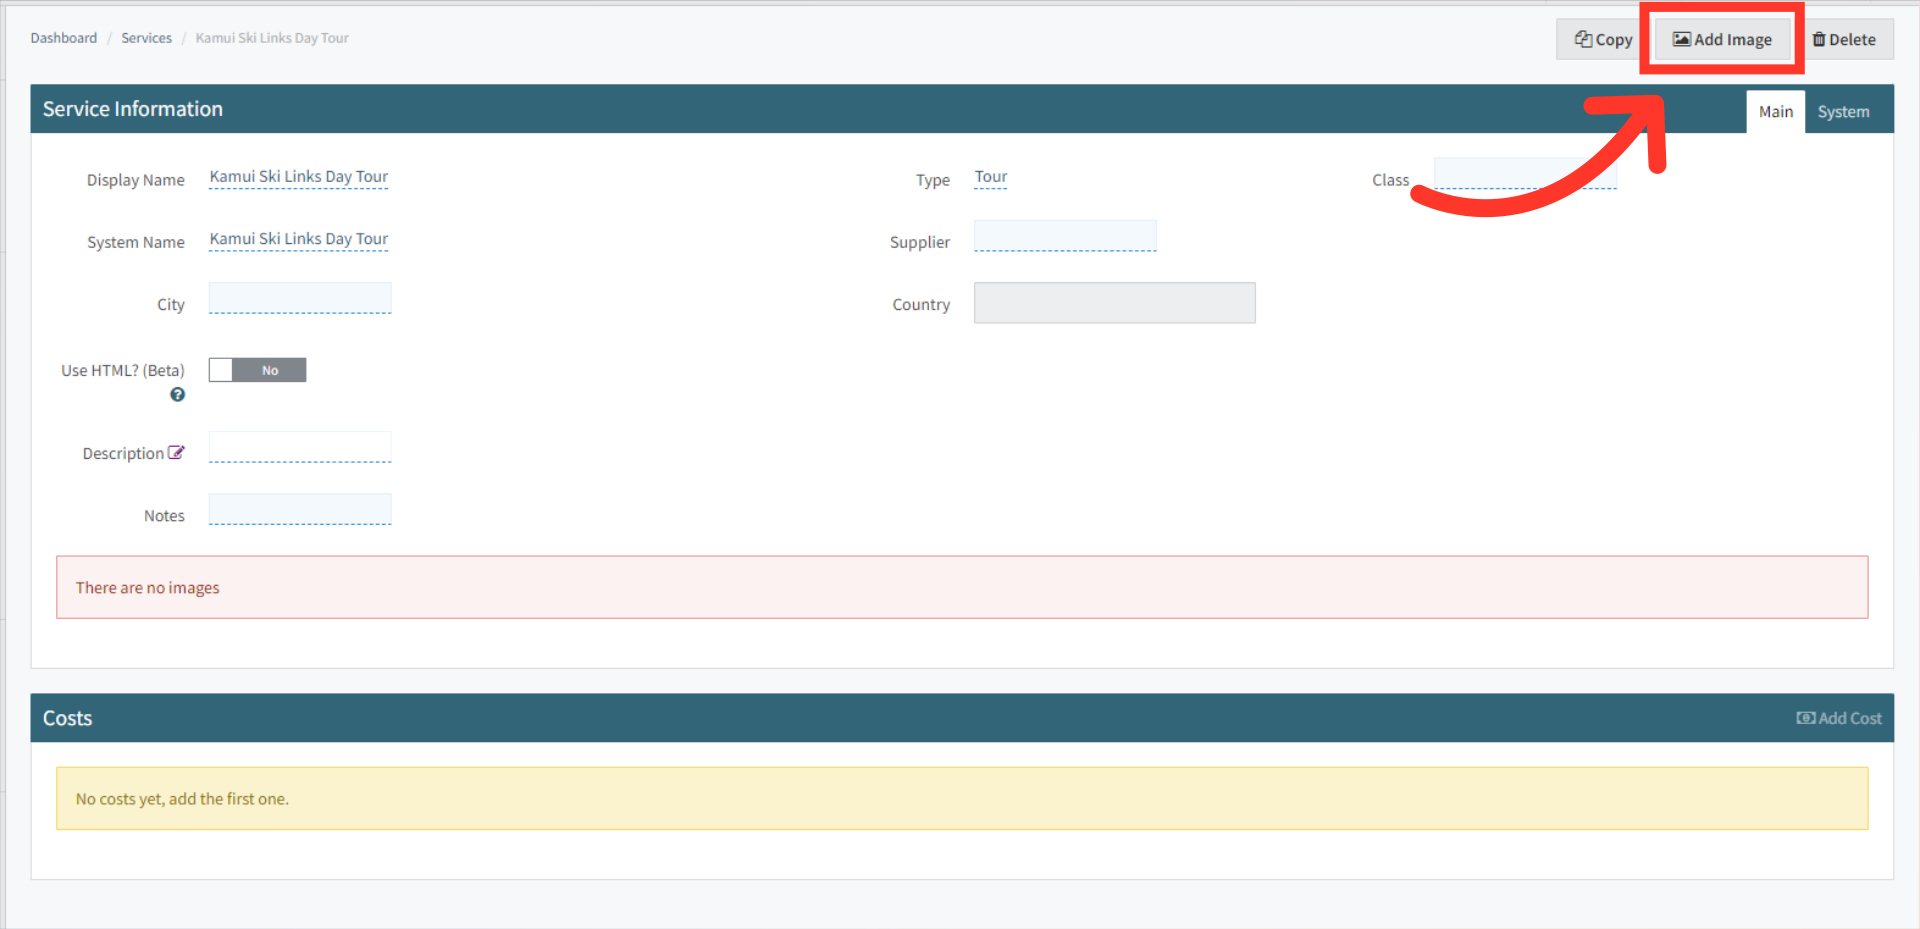
Images: Refer to the section below on how to add an image.
 | For more information on Tours/Services please see our Documentation |
4. To highlight the service with images, click on the Add Image button in the top right corner. Click here to Learn More on Adding Images
5. You can add Costs to services and set basic parameters to automate the costing process using the Add Cost button, located under the Costs section at the bottom. These costs will automatically update the Total Cost of a lead/booking when added or removed from a trip.
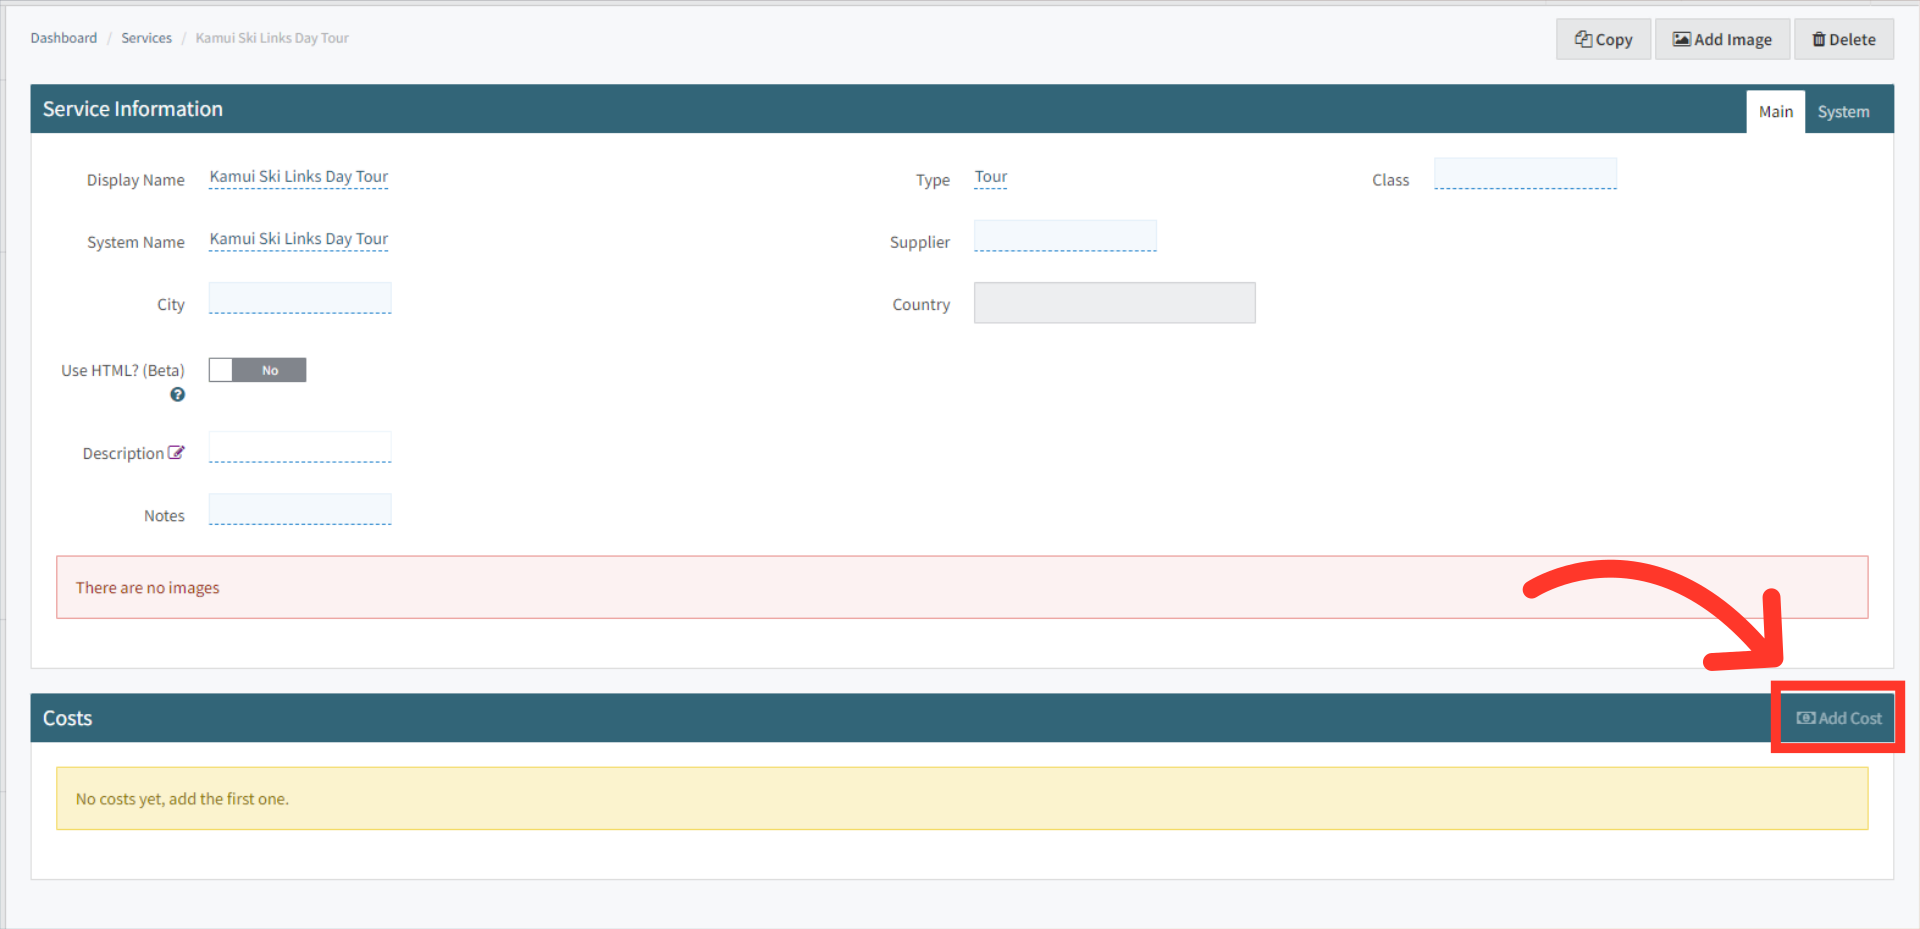
| Learn How to Add Service Costs |