Welcome! Today, we'll quickly show you How to Use Custom Payment Links on a Client Invoice in the Oasis Travel Platform.
 | Caution: This is an advanced feature that involves editing HTML. Please proceed carefully and only modify the highlighted sections with your intended URL to avoid any disruptions. |
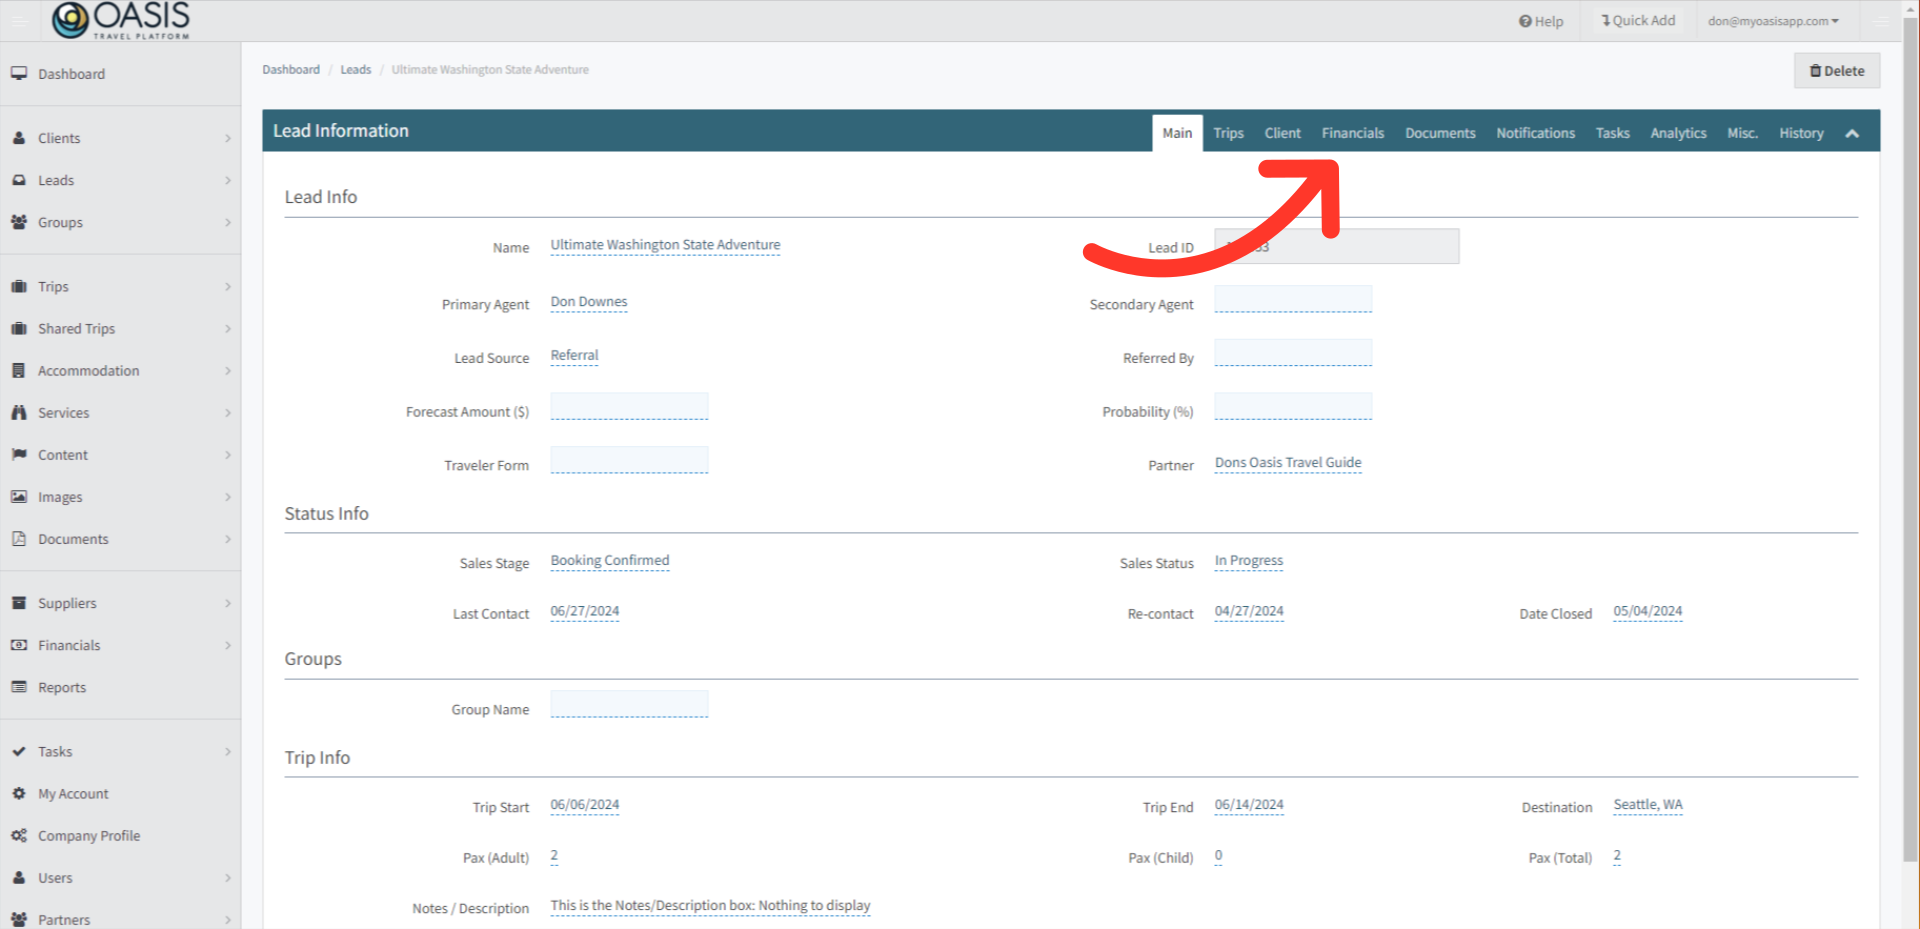
1. To begin, navigate to the Lead Bookings tab on the left and click Recent. Then Search for and click on the Lead Booking you want to add custom Payment Links to.

2. Next, click on the Financials tab.
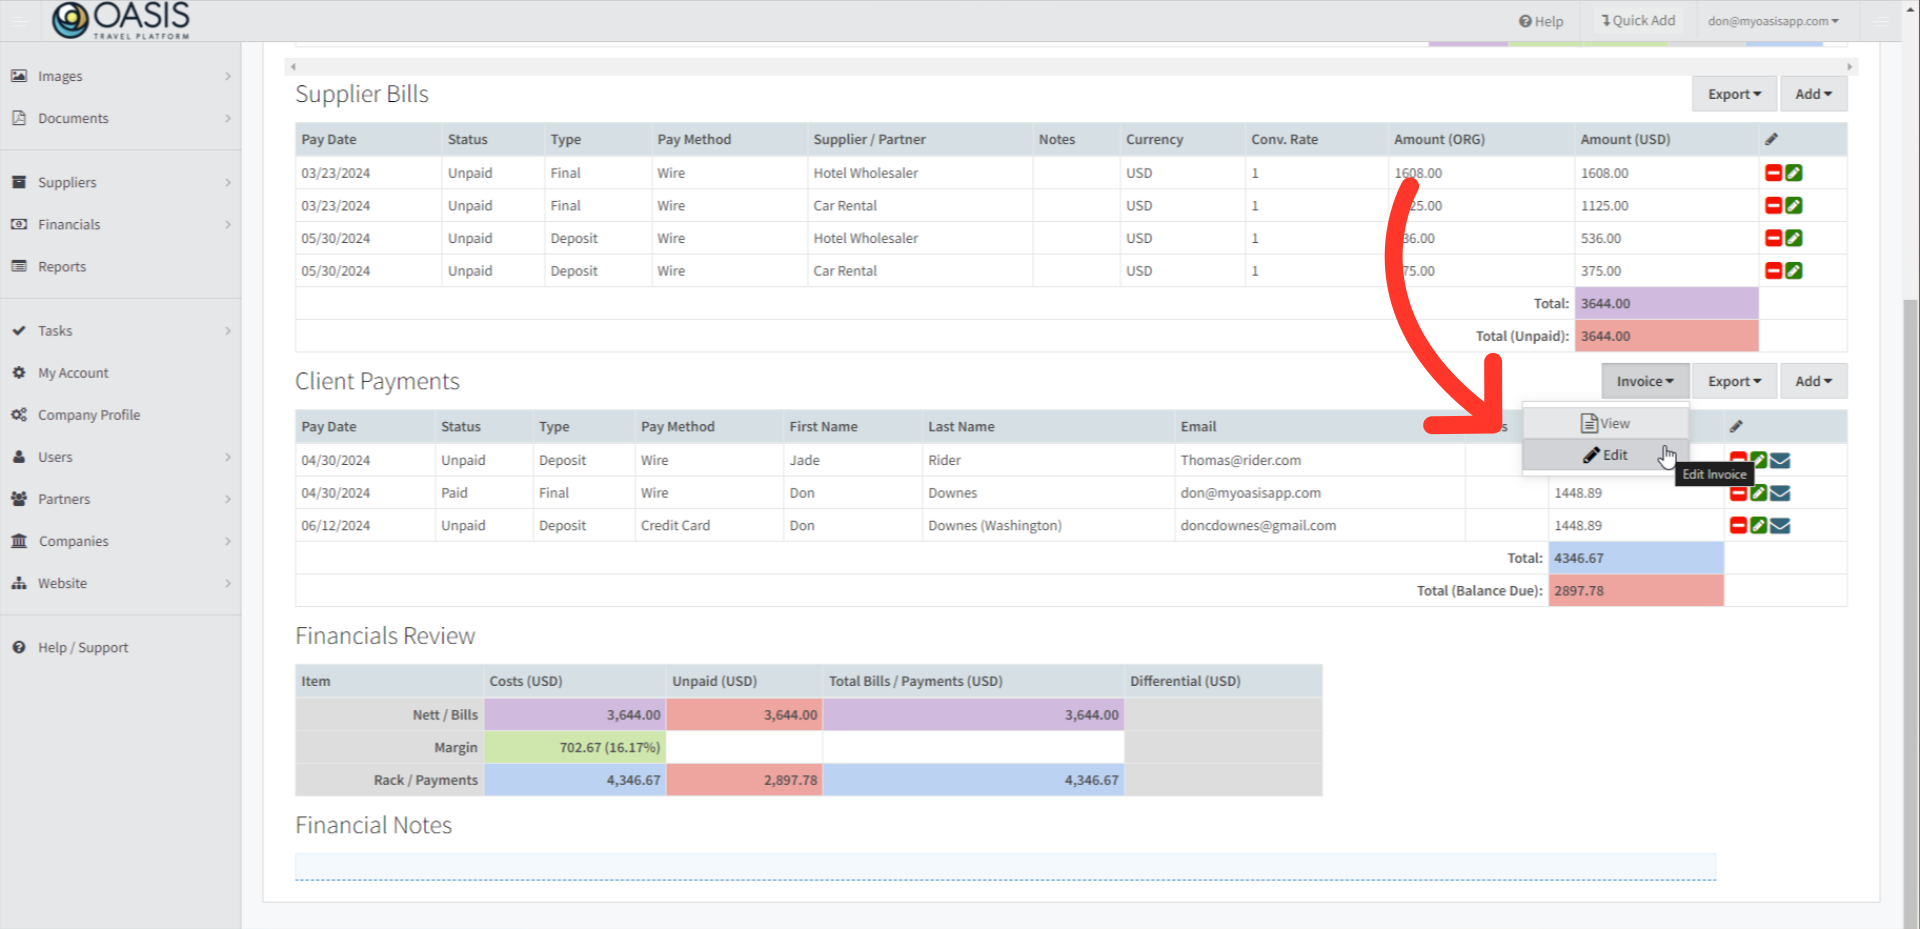
3. Down towards the bottom, under the Client Payments section, Click on the Invoice button and then click Edit.
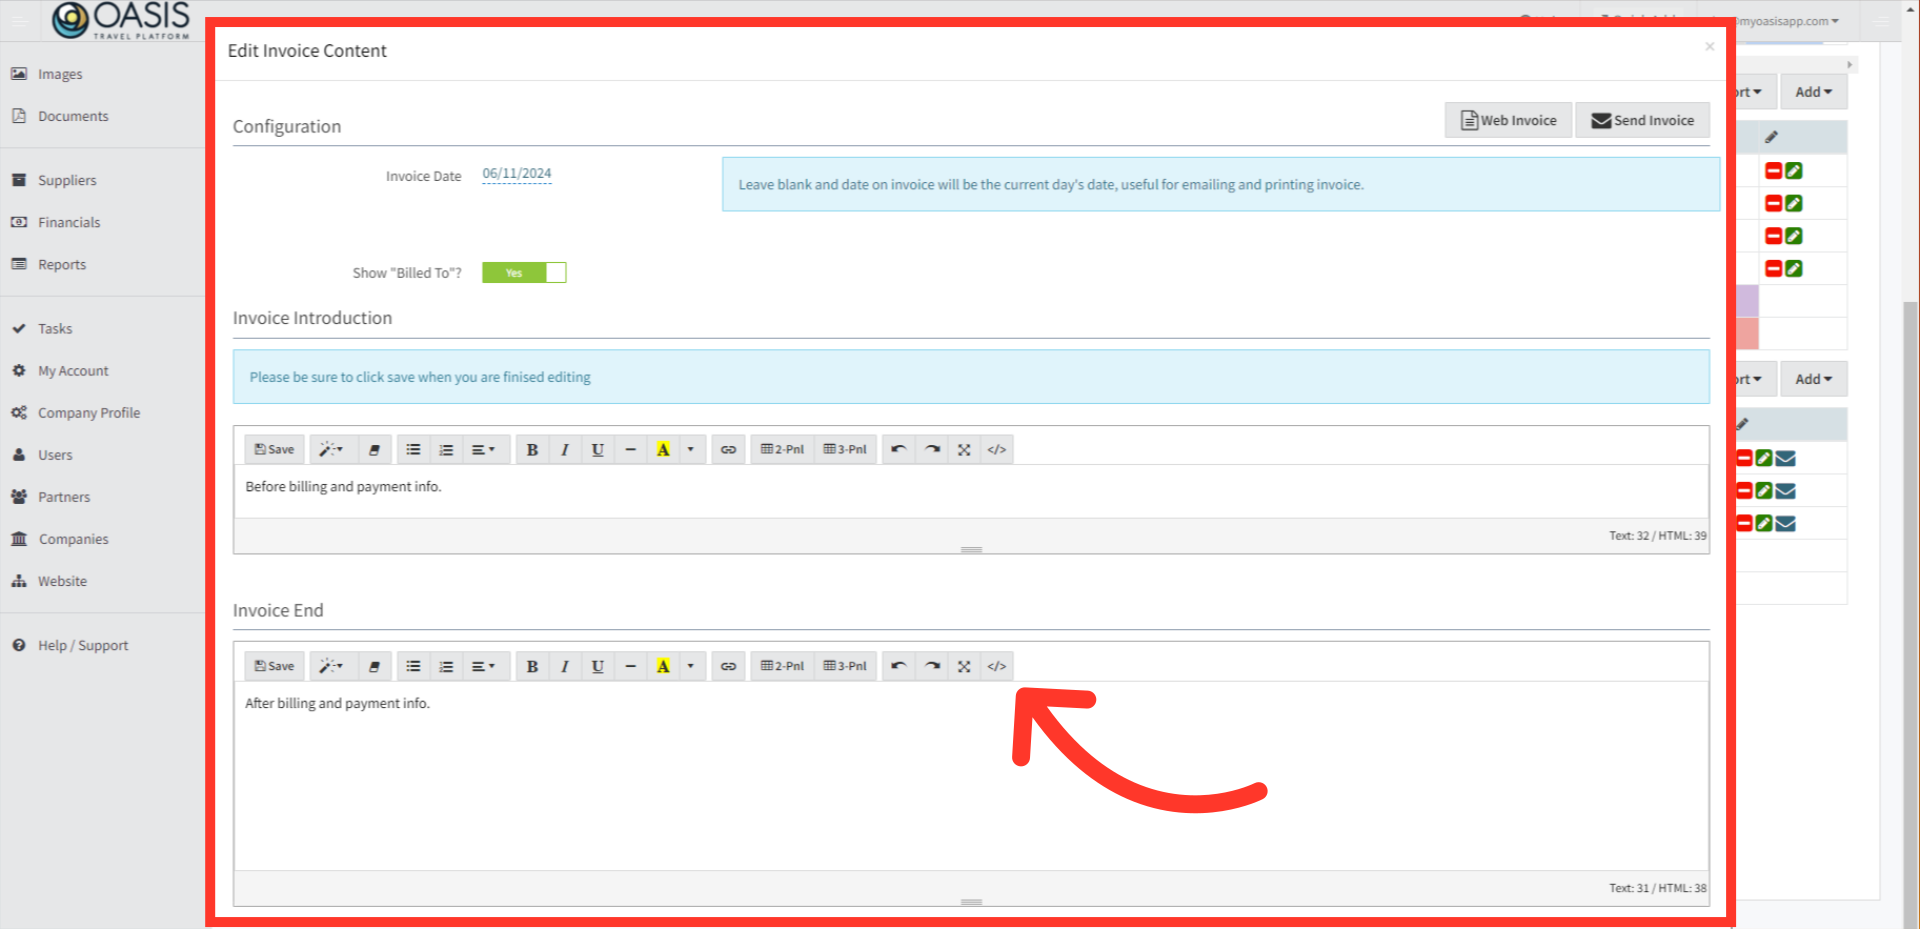
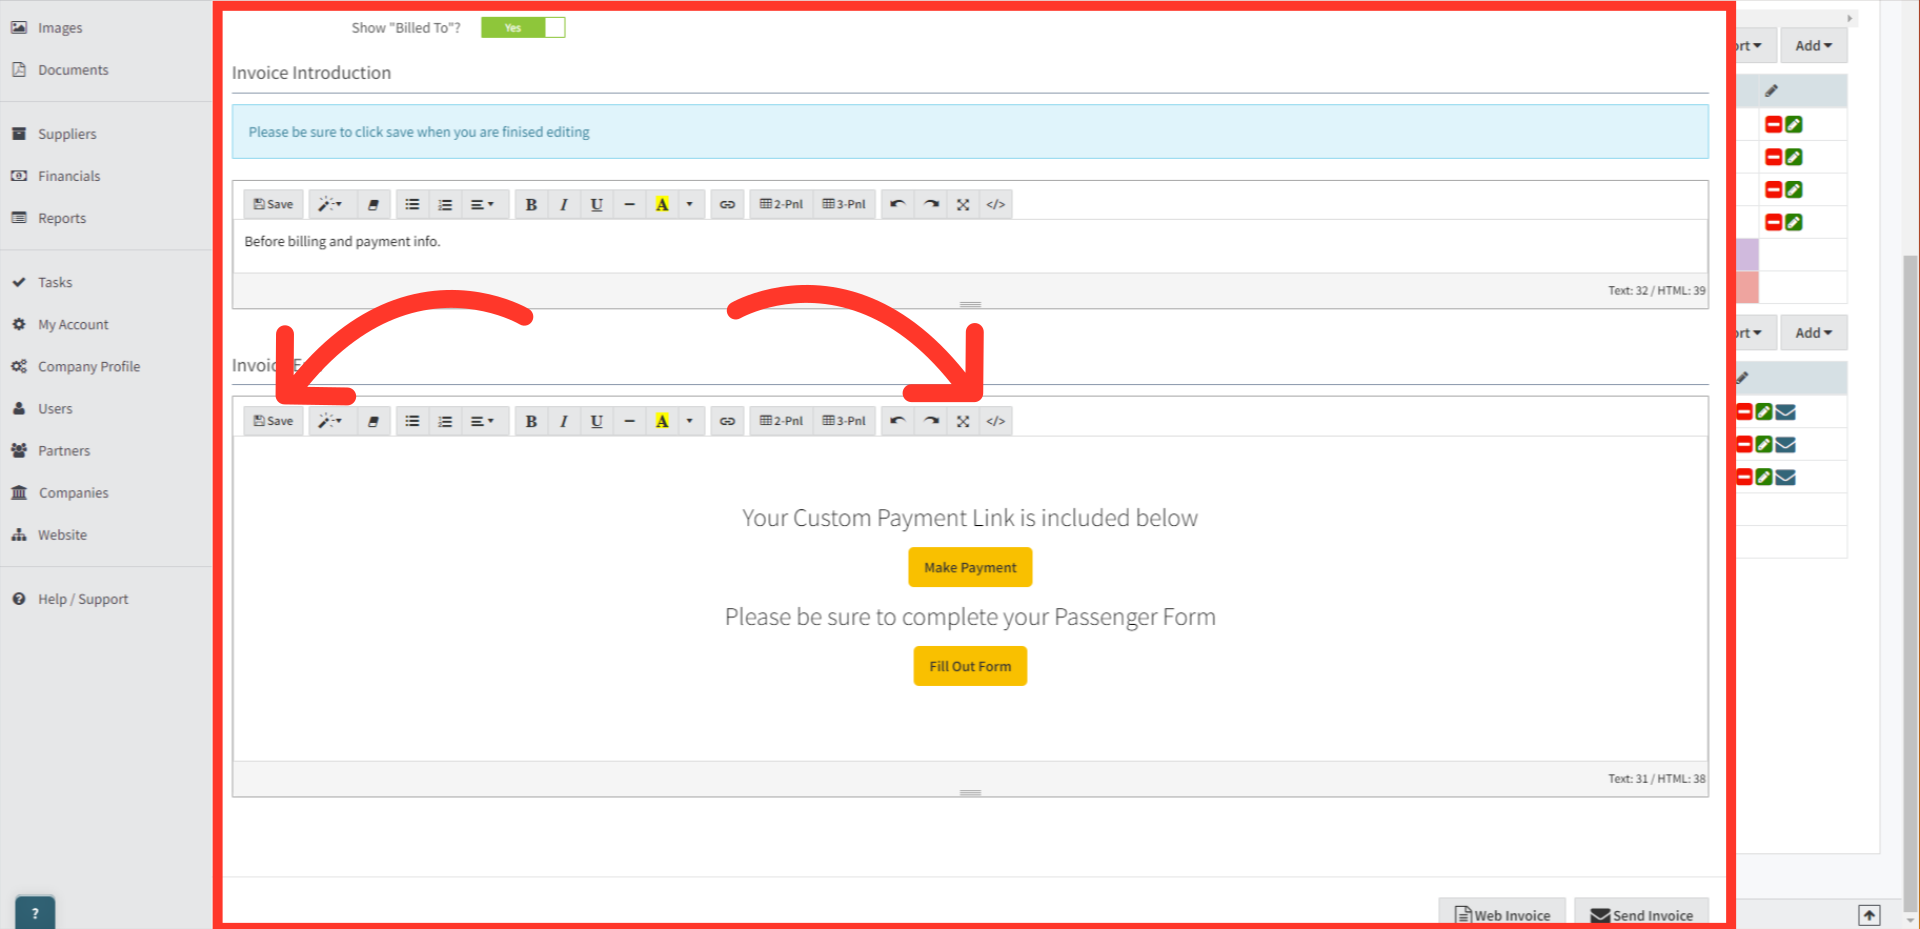
4. In the Edit Invoice Content window, you can click on the Code Editor window on the Invoice End section (</>).
5. In the code editor, delete any code that exists currently and then paste the provided code below. Next, you'll want to find the part in the middle where you need to ADD YOUR LINK HERE. Simply replace the text in the quotes with your payment URL.
<div style="display: flex; flex-direction: column; justify-content: center; align-items: center; padding-top: 50px; padding-bottom: 50px;">

    <div style="text-align: center; width: 100%; margin-top: auto; margin-bottom: auto;">

        <h3 style="margin-bottom: 20px;">Your Custom Payment Link is included below</h3>

        <p style="margin-bottom: 20px;"><strong><a style="color: #333; background-color: #ffc107; padding: 10px 15px; border-radius: 5px;

           text-decoration: none; font-weight: bold;" href="ADD YOUR LINK HERE" target="_blank">Make Payment</a></strong></p>

        <h3 style="margin-bottom: 20px;">Please be sure to complete your Passenger Form</h3>

        <p style="margin-bottom: 20px;"><strong><a style="color: #333; background-color: #ffc107; padding: 10px 15px; border-radius: 5px;

           text-decoration: none; font-weight: bold;" href="https://myoasisapp.myoasisapp.com/traveler/{oasis_var:traveler_form}" target="_blank">Fill Out Form</a></strong></p>

    </div>
</div>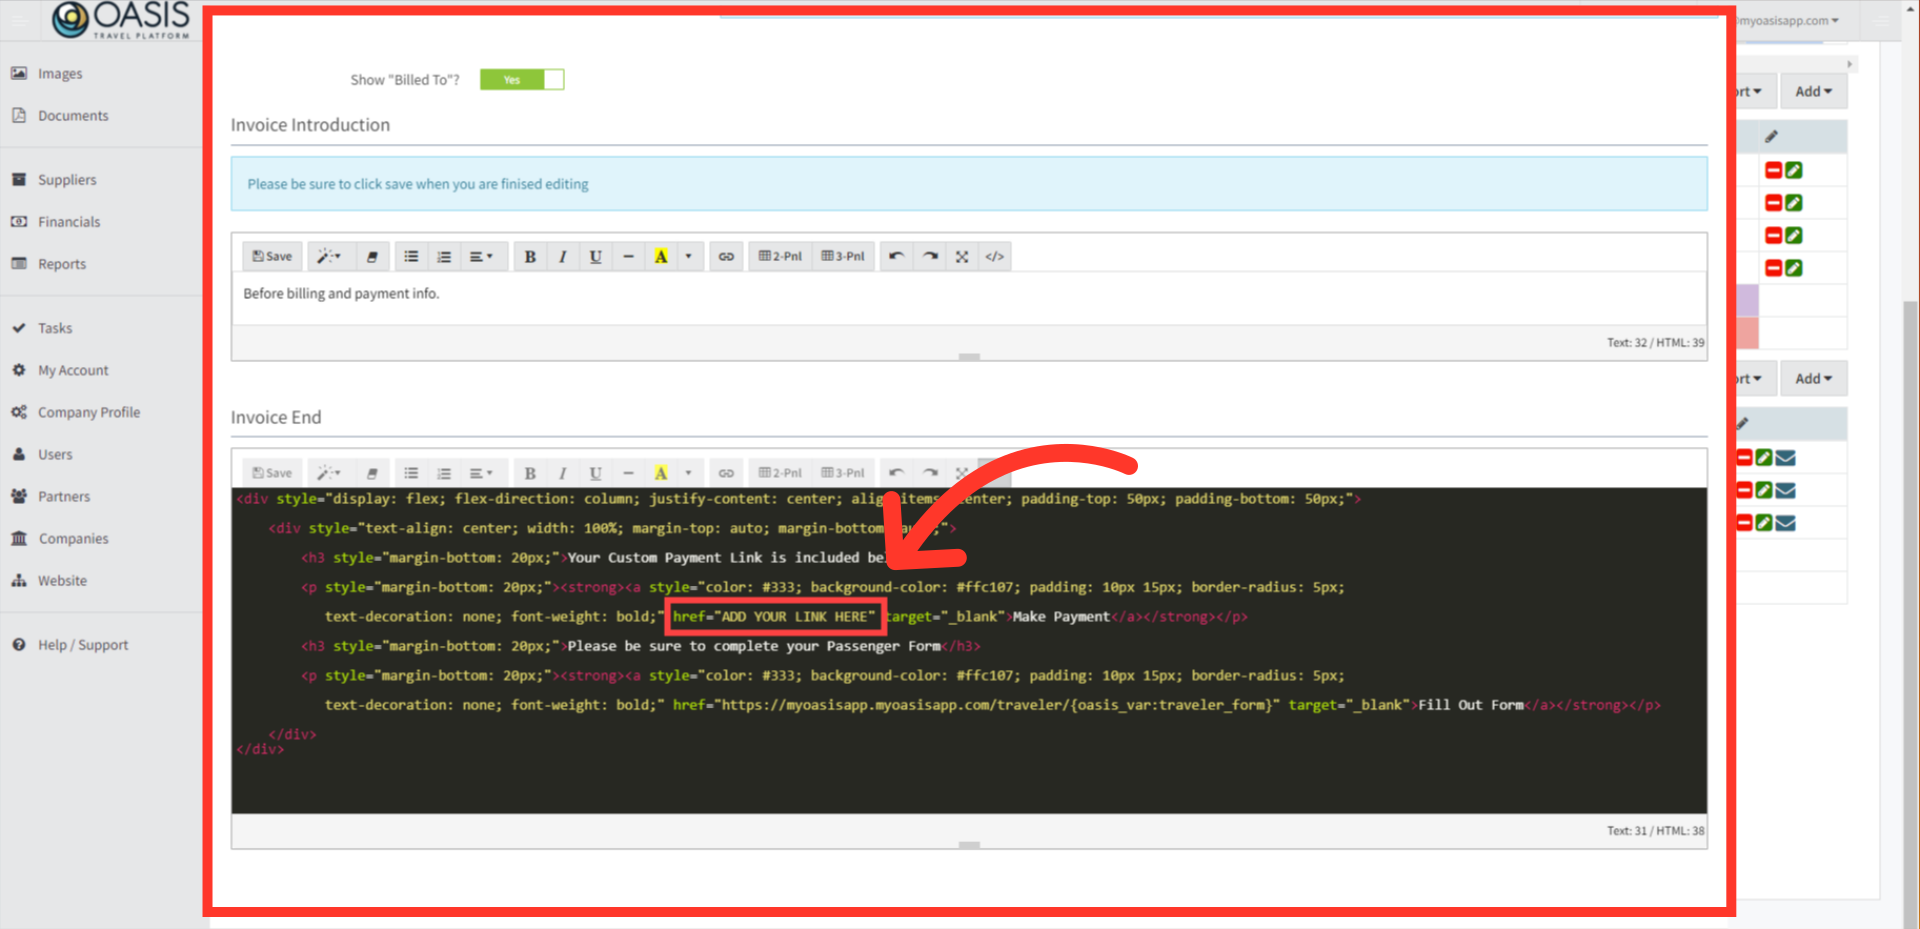
| Warning: If you are using a Custom Domain, please ensure you update the URL of the Traveler Form button accordingly. Replace the initial domain in the URL (https://YourCompanyName.myoasisapp.com/traveler/{oasis_var:traveler_form}) with your specific Custom Domain to ensure that your URL for the Traveler Form is branded (e.g., https://trips.YourCompanyName.com/traveler/{oasis_var:traveler_form}).Replace 'YourCompanyName' with your actual company name. Note the 'trips' part of the URL can be any term you choose, though many opt for 'trips'. |

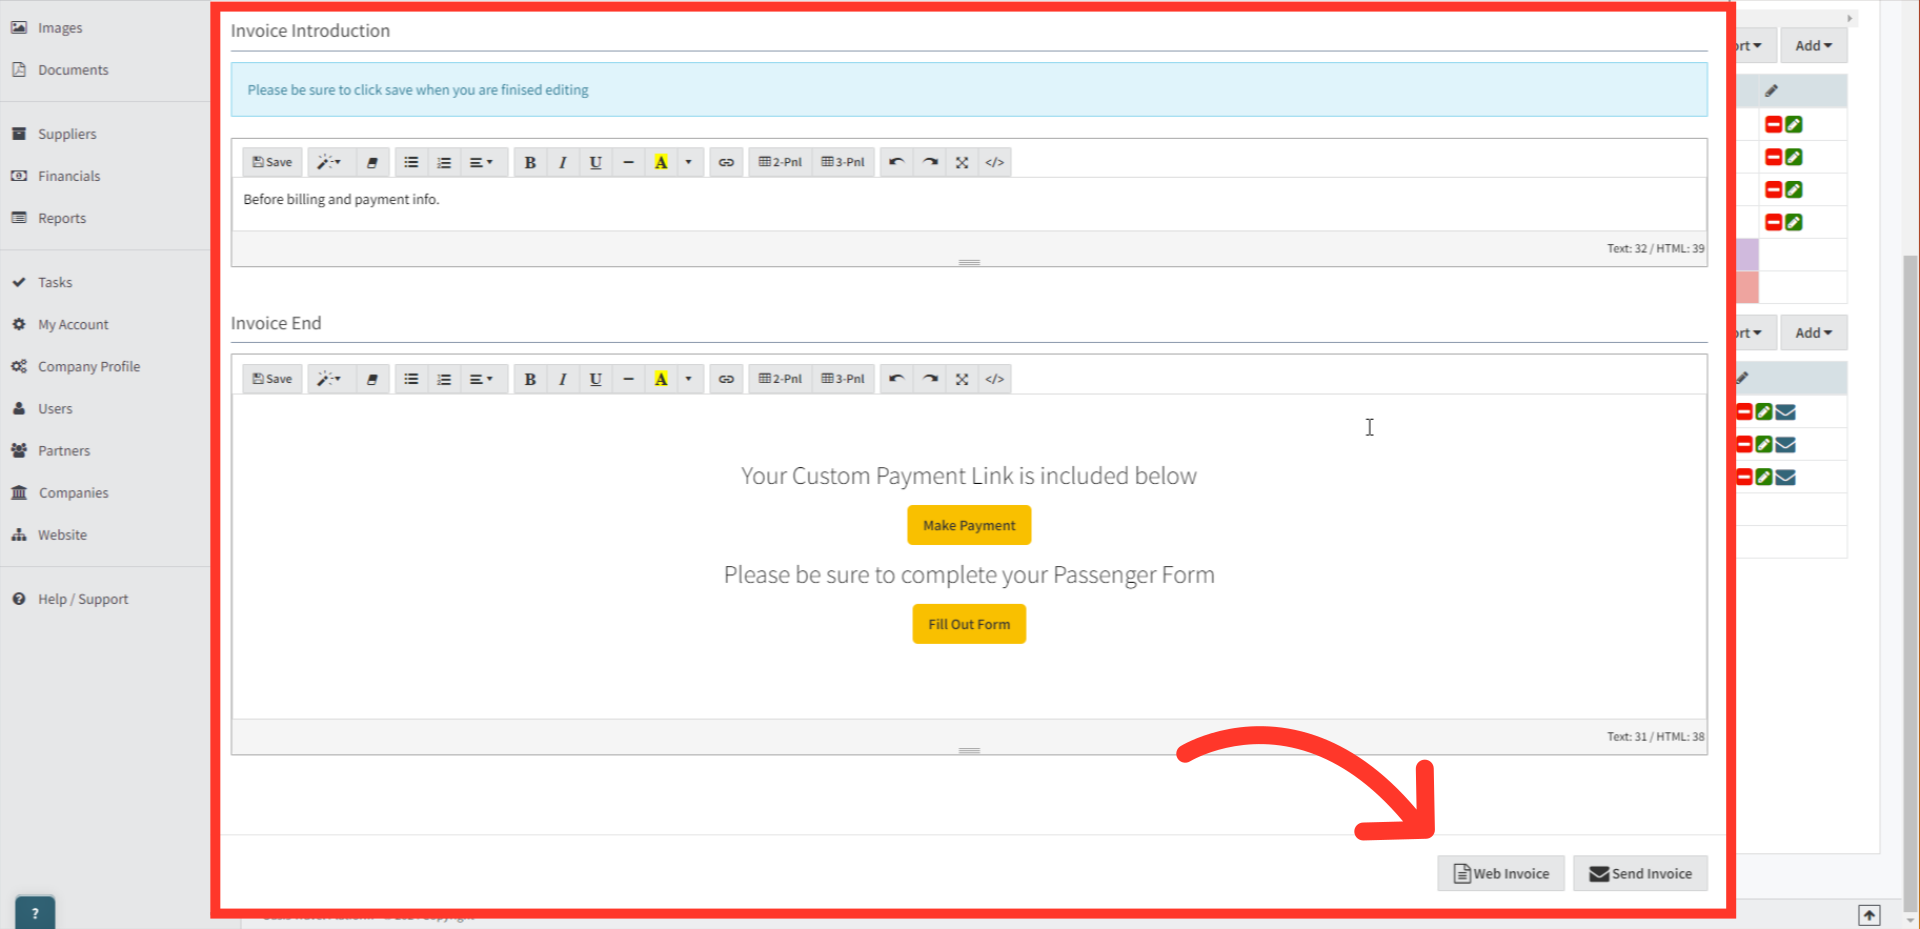
6. Hit the Code View button (</>) to switch back to the normal view and you'll see the payment links displayed. Make sure to click Save once finished.
7. Now, if you click on the Web Invoice button at either the top or bottom, you'll get a preview of the update.
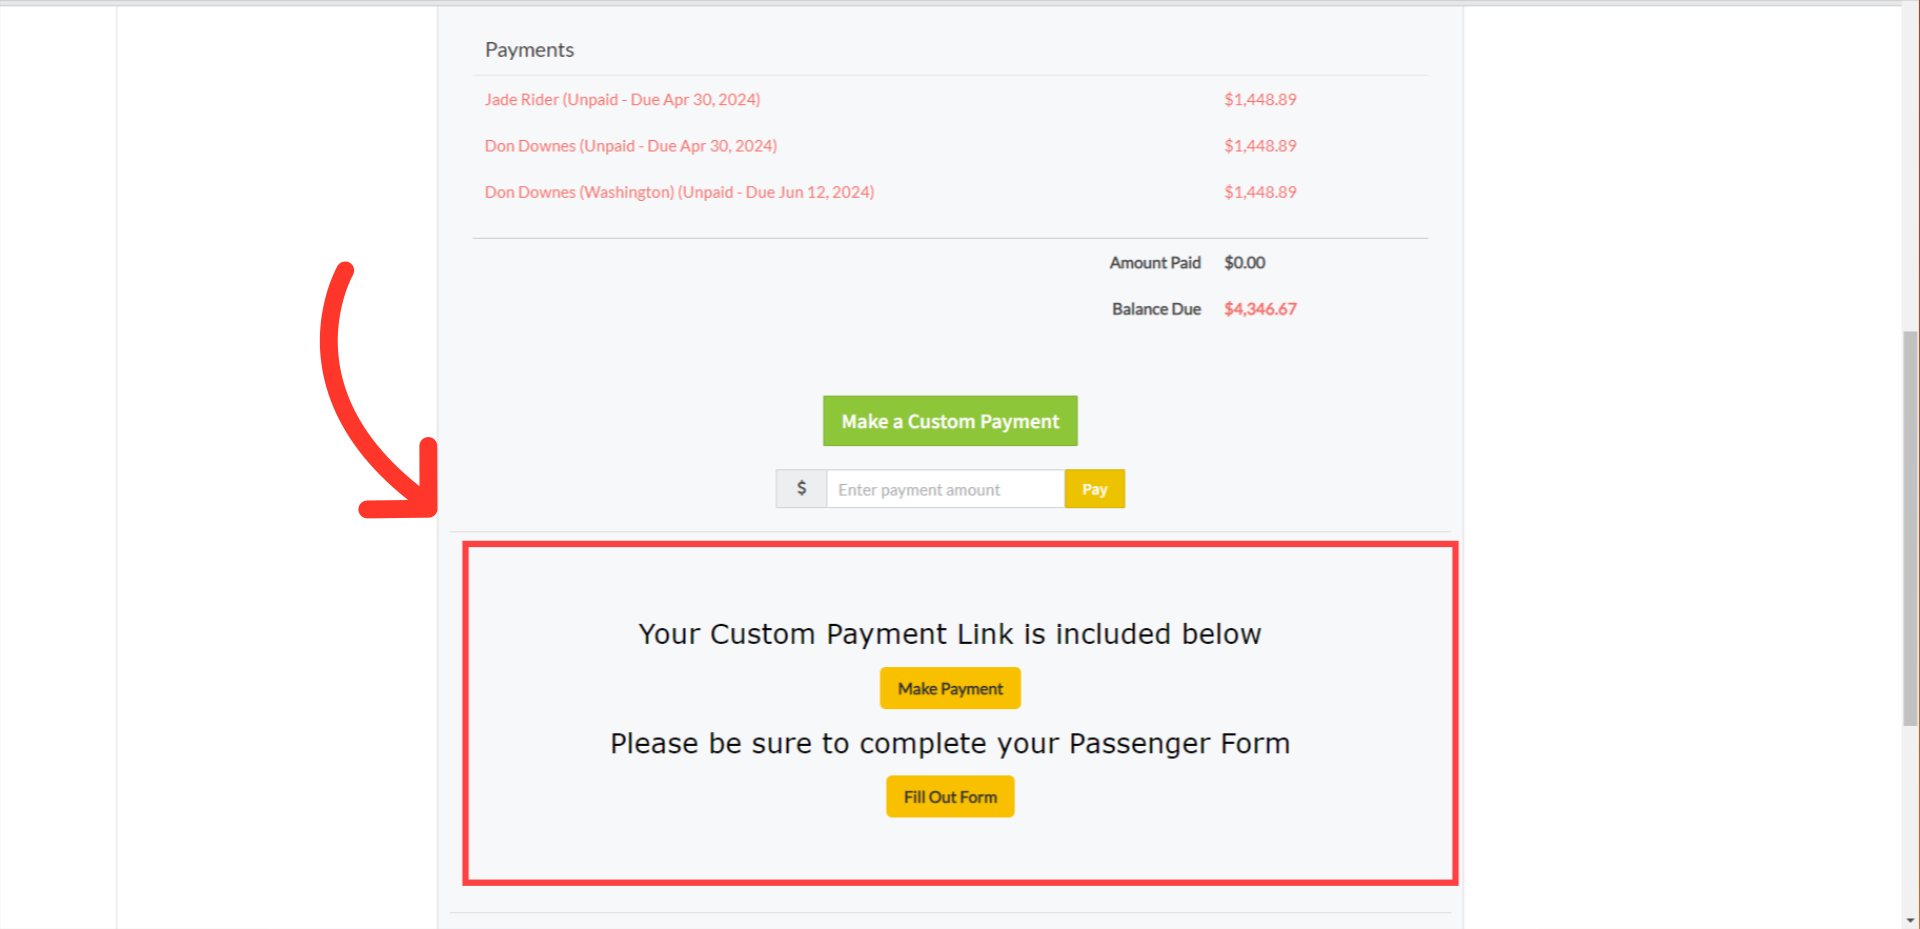
8. Here on the invoice, down towards the bottom, you'll find your custom payment links displayed.
And that's How to Use Custom Payment Links on a Client Invoice on the Oasis Travel Platform! We hope you found this guide helpful. If you need additional help or want to share your thoughts, reach out at support@myoasisapp.com. We love hearing from you and are always here to help.
Was this article helpful?
That’s Great!
Thank you for your feedback
Sorry! We couldn't be helpful
Thank you for your feedback
Feedback sent
We appreciate your effort and will try to fix the article